consul + nomad + apisix
consul
推荐看直播录制的视频,讲的很好 很轻松 Getting into HashiCorp Consul
还有个生产部署推荐配置 production-vms
推荐使用官方源直接安装 install 配置文件和目录会直接配置好,无需自己规划
# 直接启动
$ sudo consul agent -dev -bind 192.168.139.24 -client 0.0.0.0
==> Starting Consul agent...
               Version: '1.22.5'
            Build Date: '2026-02-26 11:50:53 +0000 UTC'
               Node ID: '7da7829f-ccfd-2841-1805-540d3ee3c491'
             Node name: 'consul'
            Datacenter: 'dc1' (Segment: '<all>')
                Server: true (Bootstrap: false)
           Client Addr: [0.0.0.0] (HTTP: 8500, HTTPS: -1, gRPC: 8502, gRPC-TLS: 8503, DNS: 8600)
          Cluster Addr: 192.168.139.130 (LAN: 8301, WAN: 8302)
     Gossip Encryption: false
      Auto-Encrypt-TLS: false
           ACL Enabled: false
     Reporting Enabled: false
    ACL Default Policy: allow
             HTTPS TLS: Verify Incoming: false, Verify Outgoing: false, Min Version: TLSv1_2
              gRPC TLS: Verify Incoming: false, Min Version: TLSv1_2
      Internal RPC TLS: Verify Incoming: false, Verify Outgoing: false (Verify Hostname: false), Min Version: TLSv1_2
获取服务状态
$ curl http://127.0.0.1:8500/v1/catalog/services
{
    "consul": [],
    "nomad": [
        "serf",
        "rpc",
        "http"
    ],
    "nomad-client": [
        "http"
    ]
}
获取单个服务详细状态
$ curl http://127.0.0.1:8500/v1/catalog/service/hello-world-servers
[
    {
        "ID": "ff7990be-d401-8a26-3698-76ee6a04e0c5",
        "Node": "nomad",
        "Address": "192.168.139.24",
        "Datacenter": "dc1",
        "TaggedAddresses": {
            "lan": "192.168.139.24",
            "lan_ipv4": "192.168.139.24",
            "wan": "192.168.139.24",
            "wan_ipv4": "192.168.139.24"
        },
        "NodeMeta": {
            "consul-network-segment": "",
            "consul-version": "1.22.5"
        },
        "ServiceKind": "",
        "ServiceID": "_nomad-task-d6ec357a-55be-23b8-65ff-f95e01fd4170-group-servers-hello-world-servers-www",
        "ServiceName": "hello-world-servers",
        "ServiceTags": [],
        "ServiceAddress": "192.168.139.24",
        "ServiceTaggedAddresses": {
            "lan_ipv4": {
                "Address": "192.168.139.24",
                "Port": 23747
            },
            "wan_ipv4": {
                "Address": "192.168.139.24",
                "Port": 23747
            }
        },
        "ServiceWeights": {
            "Passing": 1,
            "Warning": 1
        },
        "ServiceMeta": {
            "external-source": "nomad"
        },
        "ServicePort": 23747,
        "ServicePorts": null,
        "ServiceSocketPath": "",
        "ServiceEnableTagOverride": false,
        "ServiceProxy": {
            "Mode": "",
            "MeshGateway": {},
            "Expose": {}
        },
        "ServiceConnect": {},
        "ServiceLocality": null,
        "CreateIndex": 32,
        "ModifyIndex": 32
    }
]
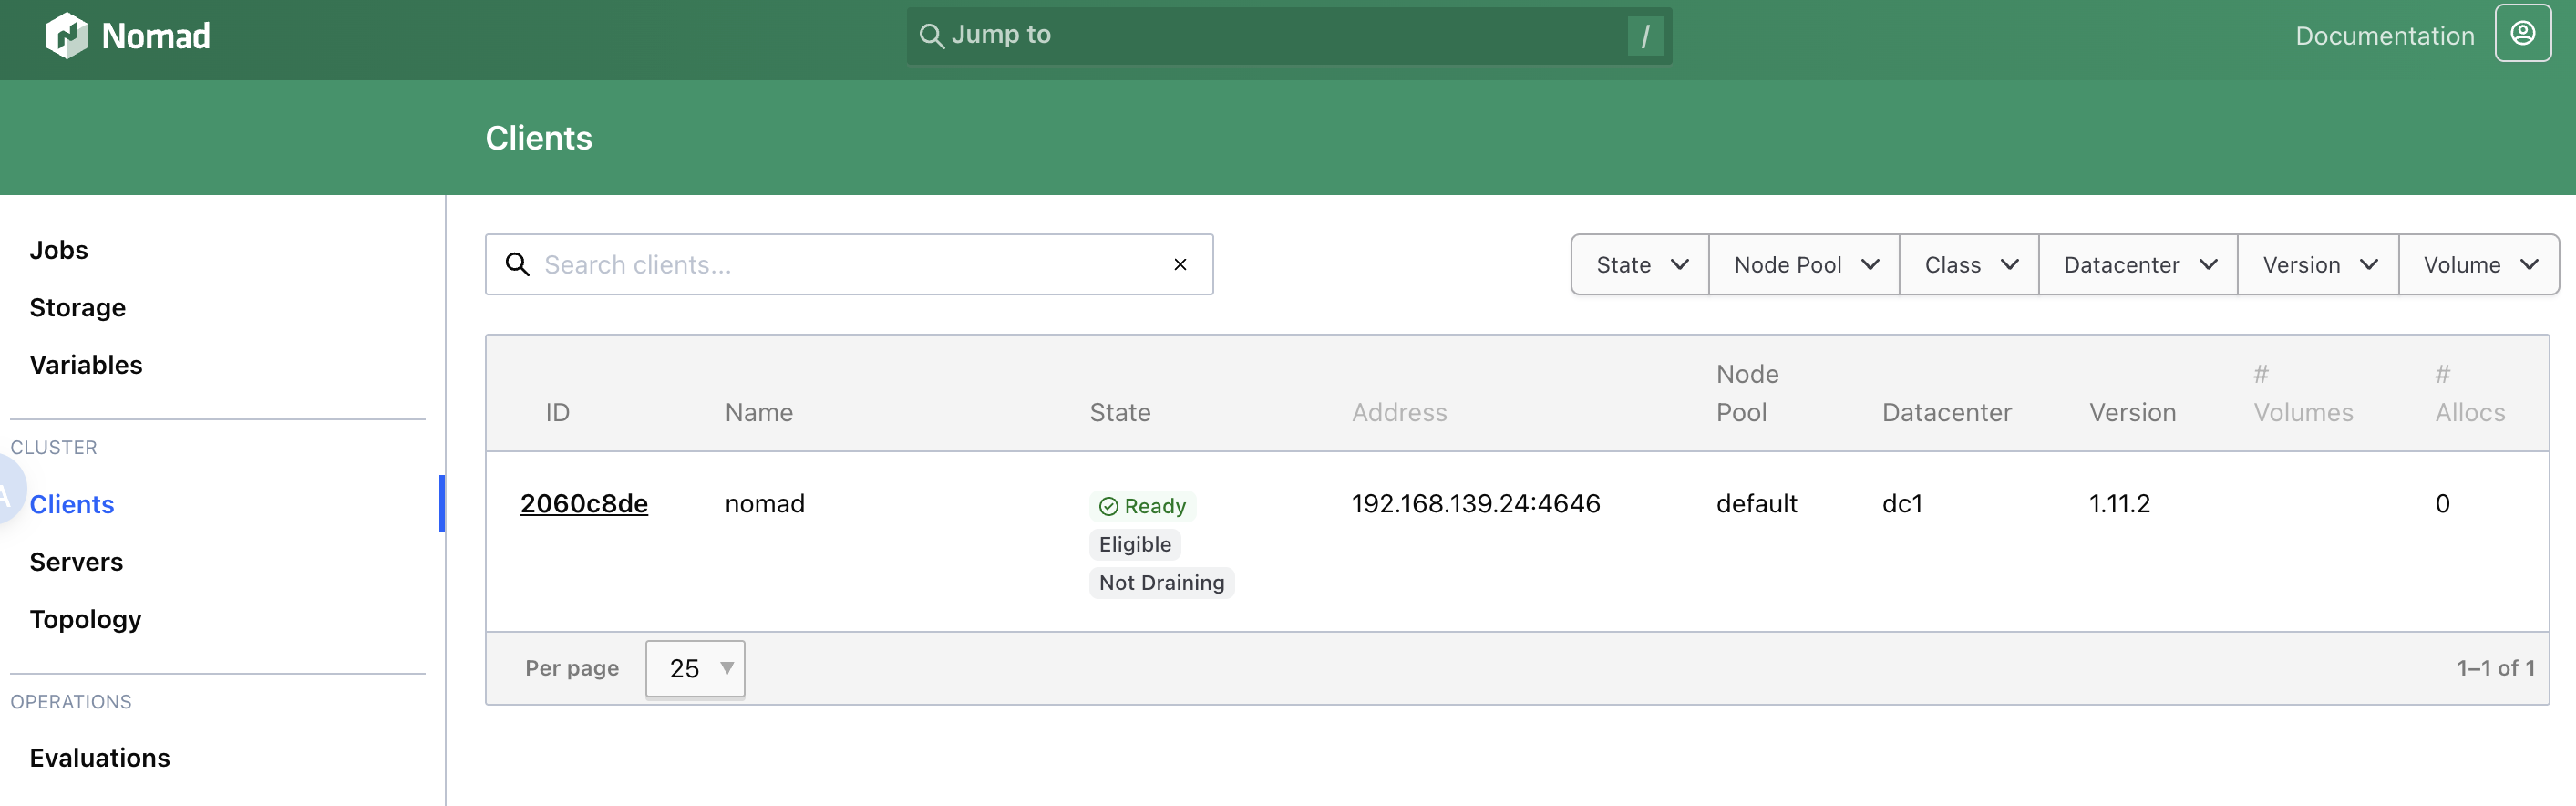
nomad
本地用的 orbstack,在 orb 创建虚拟机然后在里面部署 nomad,因为要调用 /var/run/docker.sock 不可能在装个 docker,直接把 mac 文件的 /var/run/docker.sock 做软链接拿到虚拟机里用了,虚拟机是可以直接访问 mac 文件的。
直接在机器里重新装 docker,nomad 可以直接调用
$ sudo nomad agent -dev -bind 192.168.139.24 -network-interface=eth0
$ export NOMAD_ADDR=http://localhost:4646
贴一个测试 job,会直接映射到主机端口,apisix 可直接访问到。
job "hello-world" {
  # Specifies the datacenter where this job should be run
  # This can be omitted and it will default to ["*"]
  datacenters = ["*"]

  meta {
    # User-defined key/value pairs that can be used in your jobs.
    # You can also use this meta block within Group and Task levels.
    foo = "bar"
  }

  # A group defines a series of tasks that should be co-located
  # on the same client (host). All tasks within a group will be
  # placed on the same host.
  group "servers" {

    # Specifies the number of instances of this group that should be running.
    # Use this to scale or parallelize your job.
    # This can be omitted and it will default to 1.
    count = 1

    network {
      port "www" {
        to = 8001
      }
    }

    service {
      provider = "consul"
      port     = "www"
      address_mode = "host"
    }

    # Tasks are individual units of work that are run by Nomad.
    task "web" {
      # This particular task starts a simple web server within a Docker container
      driver = "docker"

      config {
        image   = "busybox:1"
        command = "httpd"
        args    = ["-v", "-f", "-p", "${NOMAD_PORT_www}", "-h", "/local"]
        ports   = ["www"]
      }

      template {
        data        = <<-EOF
                      <h1>Hello, Nomad!</h1>
                      <ul>
                        <li>Task: {{env "NOMAD_TASK_NAME"}}</li>
                        <li>Group: {{env "NOMAD_GROUP_NAME"}}</li>
                        <li>Job: {{env "NOMAD_JOB_NAME"}}</li>
                        <li>Metadata value for foo: {{env "NOMAD_META_foo"}}</li>
                        <li>Currently running on port: {{env "NOMAD_PORT_www"}}</li>
                      </ul>
                      EOF
        destination = "local/index.html"
      }

      # Specify the maximum resources required to run the task
      resources {
        cpu    = 50
        memory = 64
      }
    }
  }
}
apisix
填加一个路由转发到 consul 中的 hello-world
$ curl http://127.0.0.1:9180/apisix/admin/routes/1 -H "X-API-KEY: edd1c9f034335f136f87ad84b625c8f1" -X PUT -i -d '
{
    "uri": "/*",
    "upstream": {
        "service_name": "hello-world-servers",
        "type": "roundrobin",
        "discovery_type": "consul"
    }
}'
admin api
获取状态
$ curl -s http://127.0.0.1:9180/apisix/admin/routes\?api_key\=edd1c9f034335f136f87ad84b625c8f1|jq